Gmail Email Signature Installation Instructions
Warning: (Mac Users) The Safari Browser Cannot Be Used
To properly support an HTML email signature, the Safari web browser cannot be used for your signature installation. The formatting will turn out wrong if Safari is used to open and copy the signature. Note that using an alternative browser is temporary. Once the signature has been installed you may return to using Safari as your default browser.
Part 1 - Copying Your Signature to Your Clipboard
Note: If you don’t currently have your signature open in a browser tab, display it now:
In the tab with your signature, press Ctrl-A then Ctrl-C - this will select your entire signature and then copy it to your clipboard.
Note: Mac users will use Command-A and Command-C.
Part 2 - Gmail Signature Setup Instructions
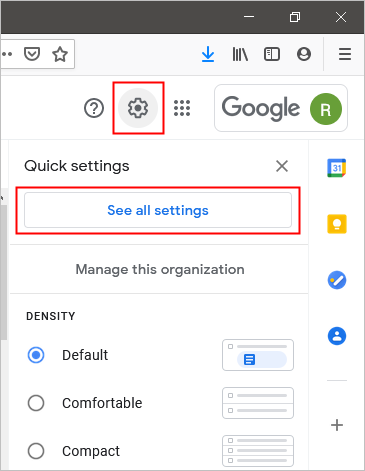
1. Sign into Gmail and click the GEAR icon in the upper right. The click SEE ALL SETTINGS.
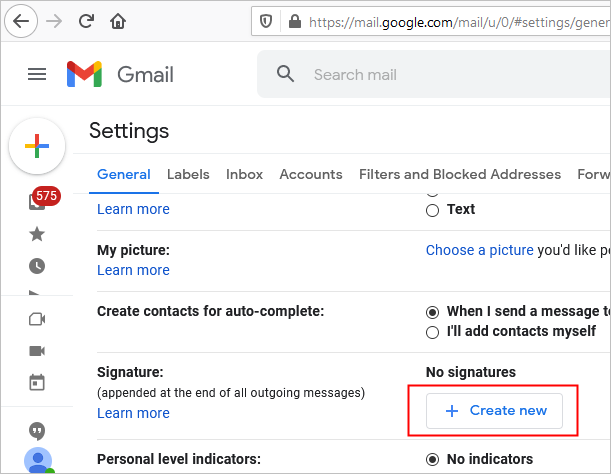
2. Scroll down to the “SIGNATURE” section, and click CREATE NEW.
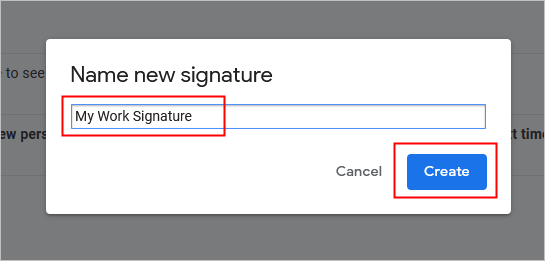
3. Type in a name for your signature and then click CREATE.
4. Click your cursor into the signature dialog box and then PASTE (Ctrl-V) your signature there.
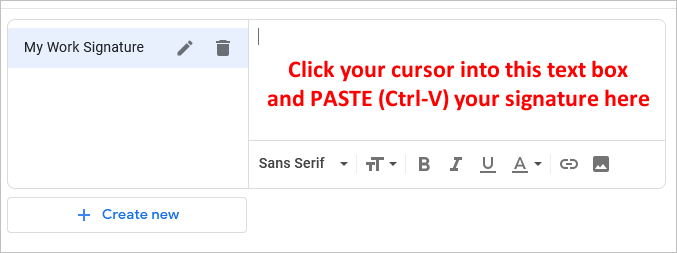
Note: DO not edit your signature after pasting it in - EDITING IT MAY BREAK SOME OF ITS FUNCTIONALITY!
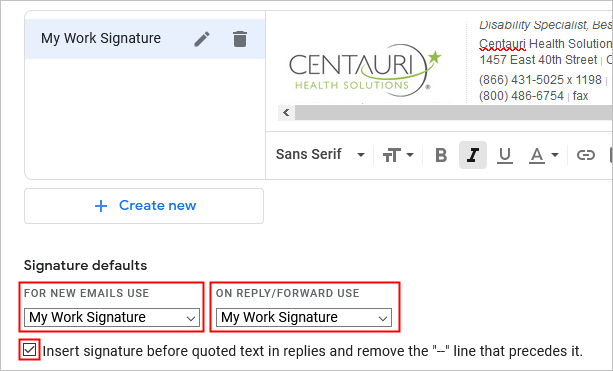
5. Set your signature to be used for both NEW messages and for REPLIES, and check the “Insert signature before quoted text…” box.
6. Scroll down to the bottom of the “Settings” page and click SAVE CHANGES.
Note: Hyperlinks in email never work while you are composing or responding to a message. To test your links, compose a message to yourself, and try the links when you have received it and are reading it.